So the updates are.................
I am very close to competing my interior (dash, gauge cluster, console) and just need to build up some door trim panels. Here are the photos for this:

I formed the sides of the console first out of cardboard from a reasonably solid box and ran this between the front seats, handbrake, and up to the front face of the dash. Each side was unique based on all the mod's done to the transmission tunnel and I could then cut the template a perfect fit to the dash and get the right length I wanted at the rear.
 |
Shown above is a test fit (one of many!). I ended up cutting a bigger hole for the gear stick of course and also included a small raised plate for the shifter boot to stretch around and snap snugly into place.

So above you can see a bit more detail of the instrumentation and console layout. Things to note are:
- I have warning lights for "high and low' readings on all gauges.
- Just under the Tacho you may notice an oil pressure and handbrake warning light.
- The oil pressure warning light cuts the ignition to save the motor.
- While I have a "Car Alarm/Central Locking system - I don't use a key to start the engine.
- I have a finger print reader as my key so my teenage kids (or anyone else) cannot start the car.
- You cannot bypass the finger print reader without re-wiring just about the whole vehicle :-)
- My fuses are all mounted to the underside of the lid of the console storage box for easy access.
- There are more stealth secrets I won't reveal. No surprises there.
- I am trimming the front-face and underside of the dash in matching leather from the seats, while the top of the dash, the cover over the gauges, and the top panels of the console will all be in black leather (stops glare).
This means the beige/camel leather colouring of the seats sweeps around you at seat level (including the door trims), while the top third of the door trim, the dash top and gauge cluster are in black. The black leather also connects to and sweeps down in an uninterrupted manner along the top of the console. I'm imagining it will look ok. I have the leather already - so it better!
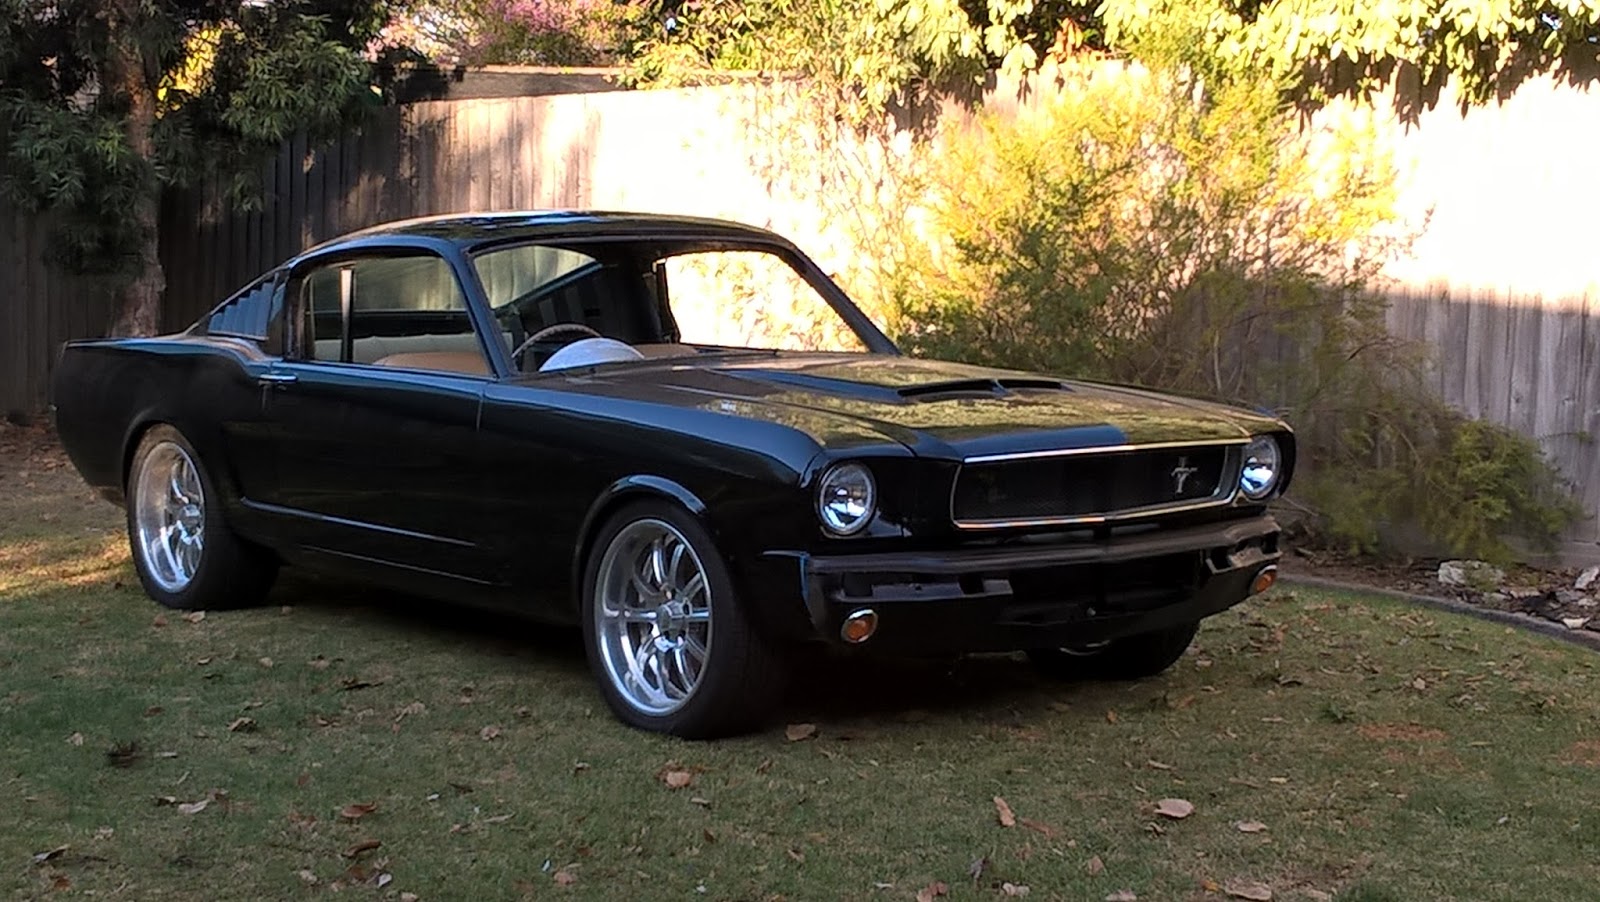
The above photo shows the car as it was a few months back. It is starting to come together nicely. You can see i'm part way thru fabricating my custom front valence and integrated scoop. I have a fair bit of the interior trim installed as well. The seat headrests will be one of the last items going in and the one-piece roof-liner is nearly ready after I installed a 12" LED light bar at the top the rear window as my 3rd brake light. It works a treat.
My door glass is actually in now, but the front wind-screen must wait for my dash to be trimmed in leather before it is installed.
Now for the interesting stuff. My vehicle engineer suggested that I get a bit of extra clearance around the back edge of one valve cover - as I was right on the 10mm minimum limit. See below.....

Yep that is close and could be a problem when the engine shifts when torqued up under load. I could bring the motor forward a bit, but that then takes room I have underneath between the extractors and power steering. I was in a corner and needed to modify things. Now to get at that support to make more room, it would have been a pain to work around the motor... so out the engine came again to do the job right. I get it out of the car on my own in half a day. And scalloping for the extra room required was the easy bit in the end, as I also took the opportunity to adjust the induction seeing I always felt each trumpet could rob air from another. The photo above give you the idea. I therefore did the following:

The above "construction" is a jig I made up so I could fabricate a set of short length, 45 degree bends as induction runners that would bring my trumpets into an upright position. These bends can't be too long otherwise I will run out of room under the hood - and I don't want to break the smooth lines of the current hood by having some great scoop cut into, and sticking out of it.
What I did was use my CAD/CAM drawing from my intakes and simply used the flat face of the intake that mounts the trumpets as my template. I then had 5mm flat strips of stainless plate laser cut to specification. I only needed 4 plates - 2 each side to sandwich the 45 degree mandrel bends (2.25" stainless tube) I got from the local exhaust shop. The materials were cheap, but it took longer for me to build that dam jig and cut the bends to length, than to weld up (and clean up) the actual runners!
But the results were worth it - see below.

Will look sweet in the engine bay now (not that looked bad before).

Ok then - until next post. See ya.