I had a look the other day and it's been 3 and a half years since i started on this rebuild - can it be that long????
As usual there are just too many distraction lately that allow me time to progress things. There has been no break from work over xmas and i'm about to travel for a month.
However, I can announce some recent progress so here are the latest updates (and it's all to do with finishing the Fastback body)....... sort of......
Anyway, to get the rear wheel wells completed along with the rear guards, I have to have the diff completed to ensure it all fits under the body skin. So I shoved the 16 x 9 inch rims (with fat Goodyear eagles on) under the guards and measured up the wheel bolt up (face to face) distance.
The complicating factor is that my vehicle engineer has demanded that the diff runs floating hubs and axles so I had to get new 3 inch o.d. axle tubes welded in as well (to carry the hubs).
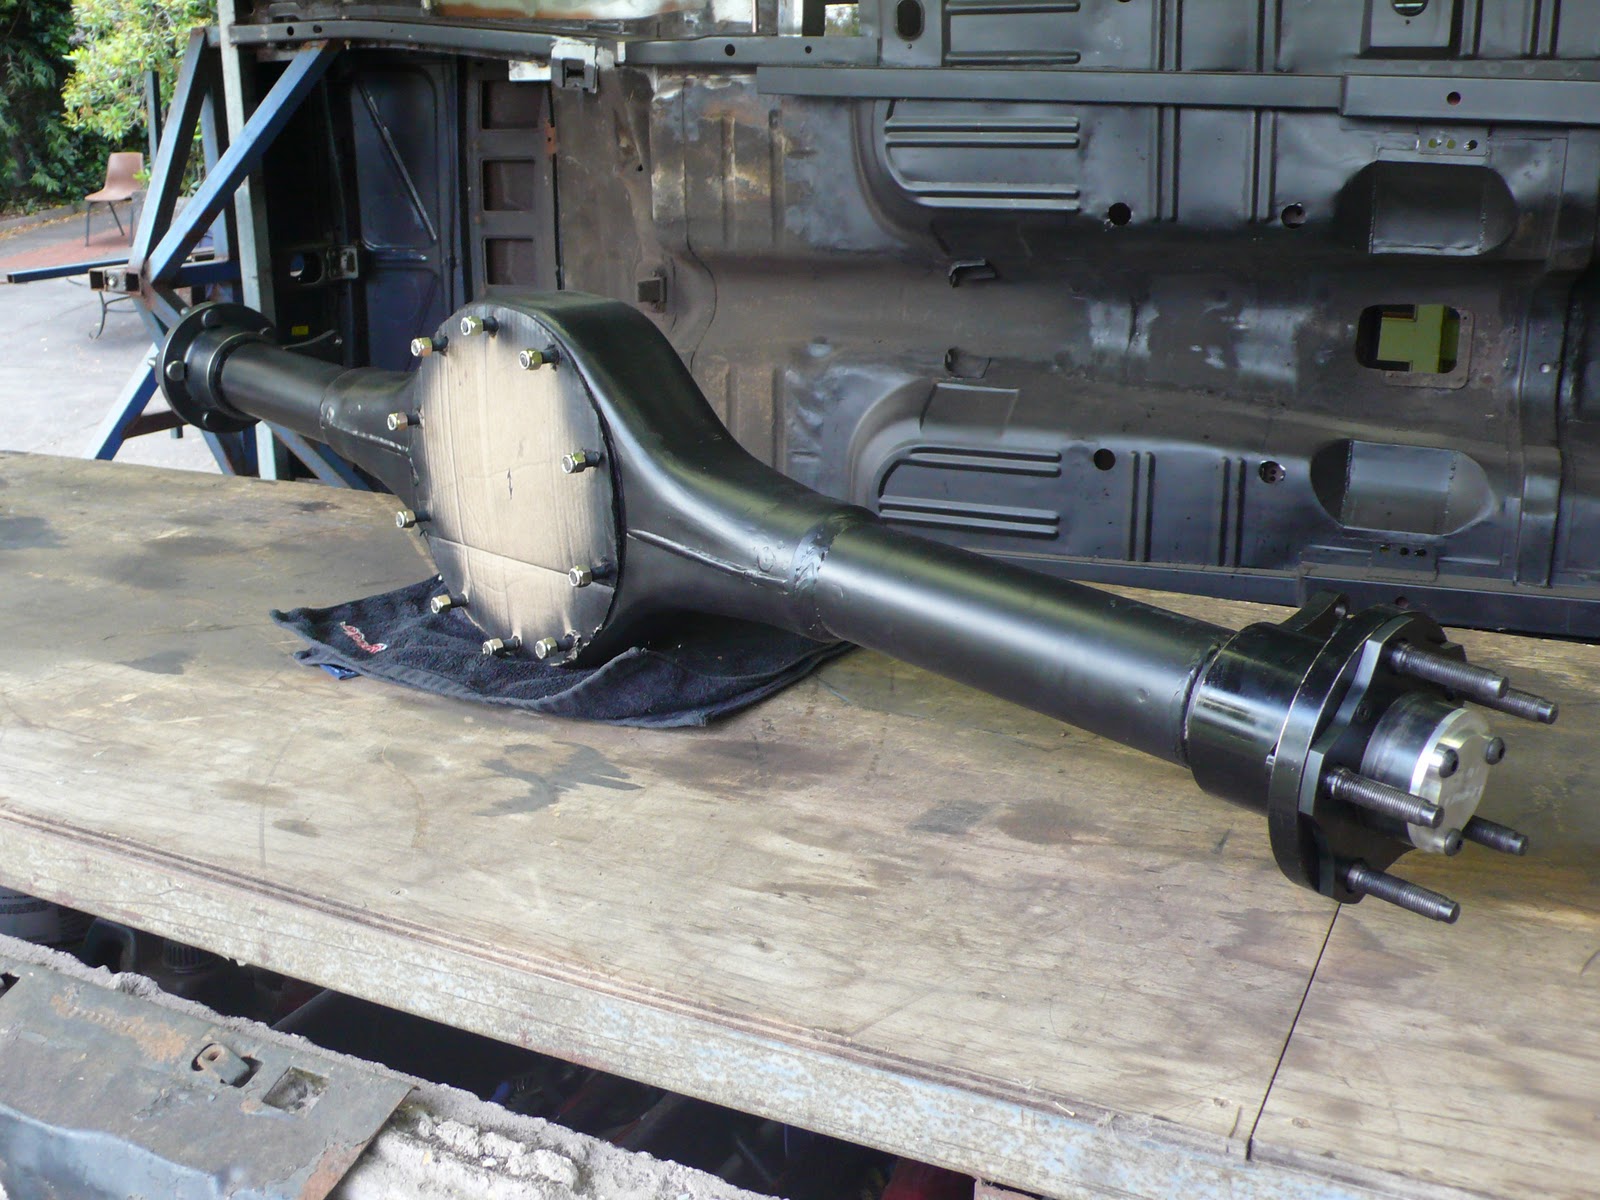
And here is the completed diff housing, hubs and brake assembly photos.
First the bare housing with the 3 inch housing extensions plus the floating hub bearing tubes.
The bare metal bearing tubes you see on each end of the housing also have the "floating axles" pass right thru them and protude another inch or more.

The close-up below shoes the brake caliper mount (painted black), then the first step on the bare metal tube is the polished surface that runs against the axle seal (the seal is pressed into the inside edge of the hub body), then the next step on the bare tube carries the 2 conical roller bearings, then the threaded section and machined slot carries the lock washer and lock nut.

The photo below shows the various hub components. You can see that the splined drive-hub slips over the wheel studs and this is what drives the whole hub assembly. I'm running 35 spline axles - as that's what the good folk at Currie Enterprises suggestd (based on my driveline combo).
The cobbled together weird looking piece of water pipe & welded on bolts is the special tool I had to make so I could tighten/un-tighten the floating hub lock nuts.

And below you can see the nice clean final fit for the hubs. In essence, it's just like the hubs you have on any trailer, but the stub axle itself is hollow - so the drive axle from the diff pass thru and drive the while thing.
Just to complete things, the phot below shows the disks and calipers mocked up and installed. A keen eye will notice that i've installed them on the wrong axles (they are bakwards and up-side down) - but I only needed the get the overall width measured here. Still - it's a nice looking and reliable combination.

And while we are on the subject of "reliable" (for this car), here are a couple of photos of the diff center that just arrived too - thanks to the strong Aussie $ right now! It's a Currie brand "9+" nodular iron case with the big bearing saddles. I nearly went the alloy case to save weight - but my car will do some miles and I want longevity for the driveline components. This center weighs about 40Kg's - heavy!!!

And to complete the package, i've gone with the reliable Detroit Locker center (35 spline to complement the hubs). I had a locker in my ute for years - love them!

That's all for now. I'm just waiting on the rear suspension components to arrive from RRS. Their system can indeed work with this modified housing. How you may ask with just a bare tube and no spring-pads?
That will be shown in the next post.