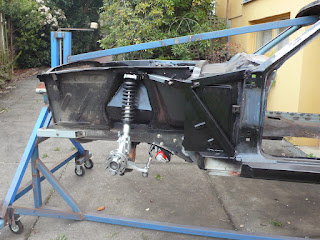
But in order to test fit the driveline (to complete the firewall), I had to finally receive my......
- Tremec TKO 600
- Quicktime bell housing
- Flywheel (lightened)
- Clutch (11 inch, plus hydraulic throw-out bearing)
- Reduction starter
- Rocker covers
- plus various miscellaneous parts
As can be seen above, these allow me to "button up" the block enough to keep it sealed from dirt & humidity yet have the outside dimensions in place to form the firewall and trans-tunnel.
Pictures of first attempted "engine fit" are shown below. There is just under an inch of clearance from the top of the shock towers to the rocker covers.
I can drop the engine down anther inch or two and still have the bell housing sit high enough from the ground - after I cut out some of the dry-sump where it contacts the rack & pinion setup. As I'm having a front and rear sump scavenge system, scalloping the centre section slightly is no problem.
The tall rocker covers fit over the stud girdle. It's a tight fit in terms of engine bay width - but it fits non-the-less. The shot above shows how far back I can set the block for better weight distribution.
However, I am seriously considering fabricating some "sliding" engine mounts to push it back a further 2 inches (once I drop it an extra inch after the sump mod's). The motor would then slip back in under the lower cowl panel nicely. Sliding mounts would then let me slide the engine forward quickly when I need to lift the rocker covers.
Anyway, lot's to do now in terms of "Metalwork 101" to get the firewall sheetmetal right.
Regards, Spiderman.


