The bonnet & upper cowl returned on the weekend after final paint and they look good.
The bonnet is so much better now than when i first got it, so all the hard work paid off. Compare these photos with the one at the bottom of this post to see the big difference. Those ski jumps are gone and the 67 Shelby style scoop is smooth across the top now - without the crooked ridge that was originally there. It may give the car a slightly unique look for all i know........ but i do know that I've gained about 4 inches of extra clearance with this bonnet. This is all good news for the big block.
And on that note, I've seen one of my blog pictures referenced in other websites when people are chasing info about fitting a 460 engine into an early Mustang.
Yes it is a close fit for me, but any "normal" big block would have even more spare room for an easier fit. In my case I have the Trickflow A460 heads with raised inlet & exhaust ports, plus the tallest valve-covers I could find (to clear the stud girdle), etc. So if you go with standard style heads (either original iron or new alloy units) you'll have plenty of room.


And lastly, I've started running the looms. Here is a shot of the rear of the car with the tail lights in. Starting to look like a car finally.
I've put the shell back up on the spinner so I can most easily run all the wiring, fuel lines, brake line, etc.

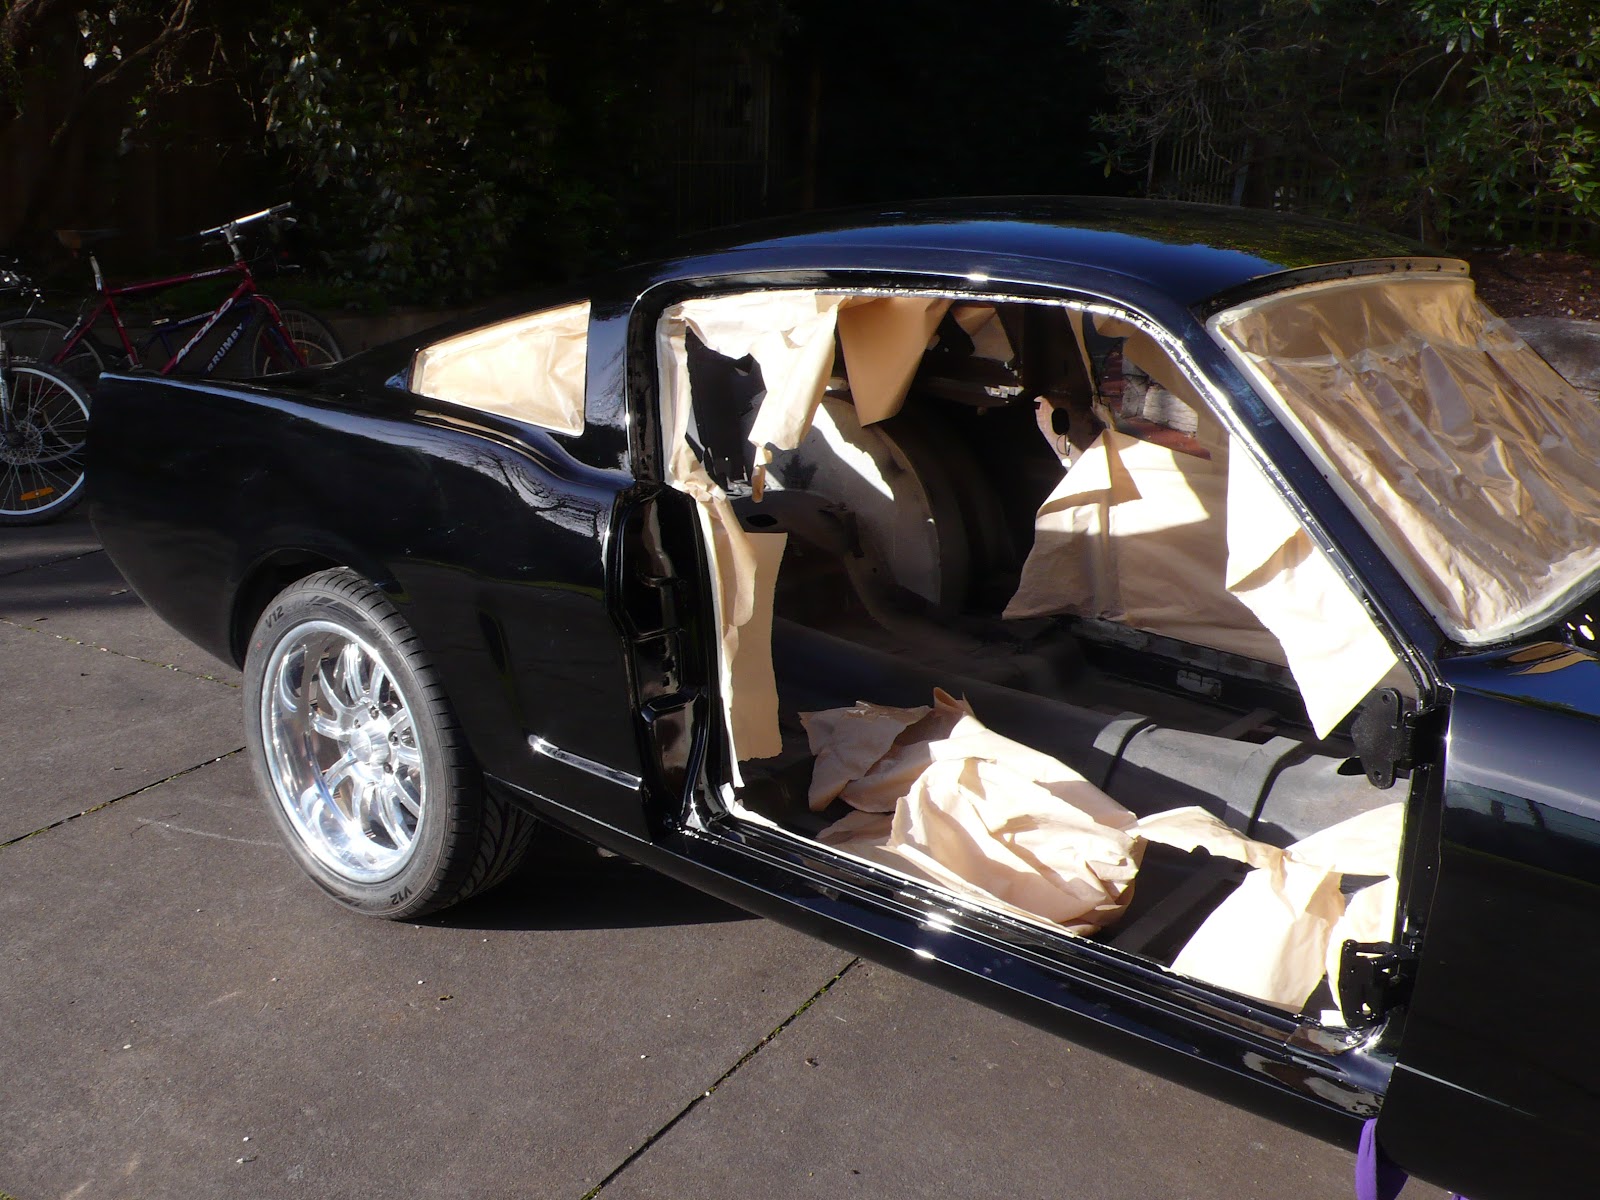
Now that I have the car home from the booth, here are some better photos of the shell.
It caused a bit of fuss driving it home with the Bonspeed wheels on the back as I had a few drivers pulling alongside to have a good look.
The results are pretty good and I'm happy with it. As always, I've managed to find a few flaws (when it's your own car), but nothing major. The biggest pain was a stone ship of all things driving home. I flicked up a piece of wire that nicked the rear passenger qtr-panel (not happy!!). But it is just a spot, not a scratch, so i should be able to touch it up and fix it ok.
So here are the photos of the shell. Keen eyes will notice the extra (almost) 1 inch i got in the rear guards by jacking out the guards before welding the inner wheel-wells to the outer quarter skin.


The fibre-glass bonnet (hood) on the other hand has caused me grief in that I've had to repair some low spots. You will see in the photo below that the front corners of the grafted in 67 scoops were low, as well as where the rear edges "ski jumped" up to meet the correct rear lip contour. This happened because of my custom (removable) upper cowl....... all the cutting and welding changed the height of the curve on the cowl and the rear edge of the bonnet had to be modified to follow it. I've had to insert a painfully tricky hand-fabricated piece of box-tube steel to run right across the back of the bonnet - but inside the rear bonnet frame (which was all fibre-glass) to hide it nicely.

And below is a tease of the final engine build. While the shell was in for painting, I've continued the last few engine details and the dry-sump plumbing got some attention. More on the engine in the next couple of posts.....

